How to Create Cinematic AI Videos with Runway Gen-3 Updates
Category: AI News Views: 51

In this video, I will show you how to use Runway's latest updates to create a beautiful AI generated scene.
Runway has been enhancing its AI video generator recently with brand new features like references, chat mode, and sketch layout.
These updates can play a massive role in creating consistent, realistic, and cinematic shots. And I am excited to show you how.
Let's hop in.
Let's explore Runway's latest features, which are references and chat mode, which might still be in beta depending on when you are watching this video, but we will use all of those clips to create a consistent video with consistent style and our character placed in it.
So, let's get to work.
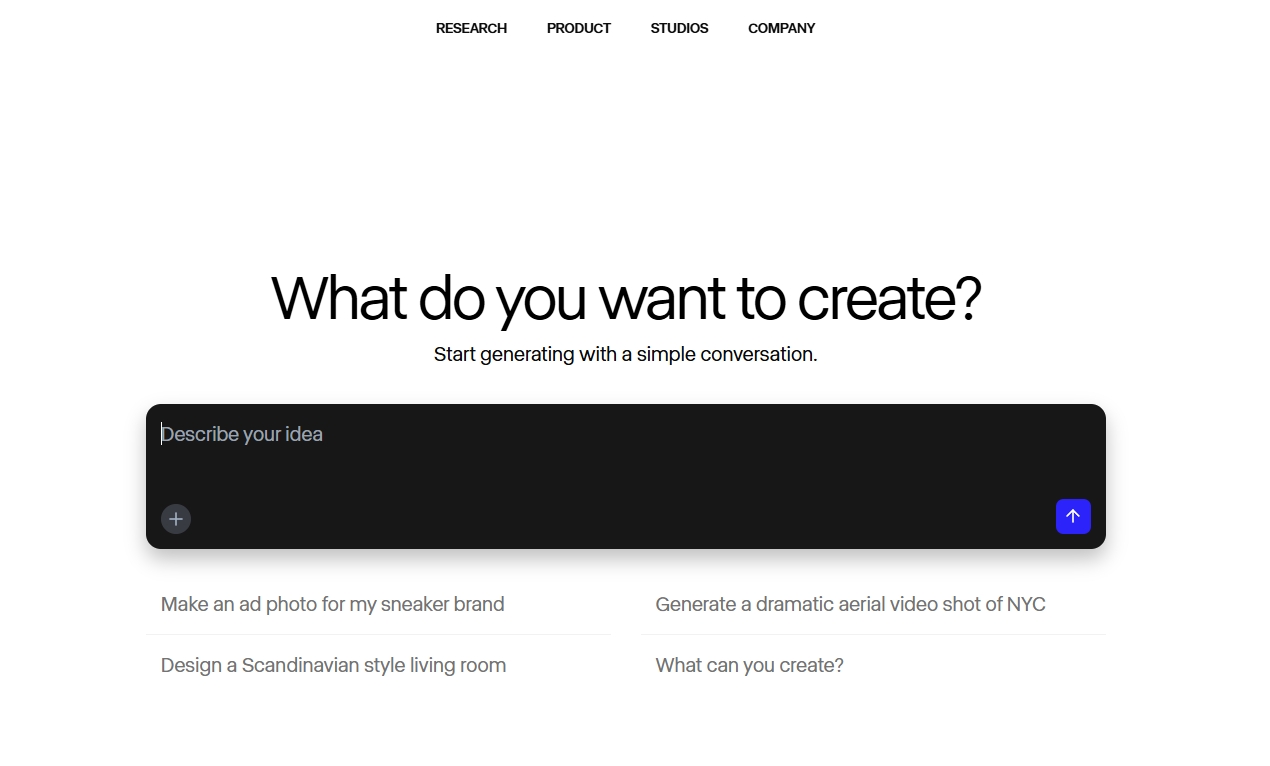
First, we will start by generating our image. We will click here. And if you haven't used Runway for a while, it looks a little bit different because right now you can see a chat mode button here which we will get to a bit later.
And you have a spot where you will upload your reference images so the prompting of the image would be way more controllable.
I will start by uploading our images. Upload. And I will bring in our character and it's here. And I will also upload our scene.
You can use up to three reference images per one image generation and it works best with characters and scenes. However, you can get a bit more creative and steal, for example, lighting from a particular image or its visual style and something like that.
Now here, as you can see, both of our images are uploaded here. Right now they are not acting as a reference here. Here they are just uploaded and if you want to use them you need to bring them up here and you will do that by clicking.
Or if, let's say, this character is really important to you and you would need to reference it over and over again, you could tag to save it. Let's say I'm going to call her Julia.
And this way she appears in the saved tab. Therefore you won't need to load this image every single time.
Here it's image one and here it's Julia. I could call out for her even if I write, let's say, @Julia and it will upload her image even though I won't upload her here because she remains in the saved tab.
So let's start with an establishing shot of this street and I can give it a command to show me a different view on the street and you will hit @image1.
This way you are referencing to this image. And we can hit generate.
And as you can see, it did quite a good job at maintaining visual look. But those tables are positioned somehow irrational. Maybe we need to add more context.
Show me high angle view of the street as an establishing shot.
And now we are getting somewhere. But positioning of those tables is not believable. However, this one looks quite usable.
I can maybe introduce another feature here which is draw layout.
If I would maybe want to express my vision and help it to create a centered view of the street, I could help it with this icon which is sketching layout.
Now I can use draw tool to maybe create a line for the street and also some buildings with windows.
As you can surely tell, this is a street in Paris. You don't need any advanced drawing skills as you can tell.
But you should help it also with labels because you draw some sketch of the layout which hopefully it will follow. But you can help it understand what you draw with labels.
I can click label here and write road. Then I can click label here buildings. I will do the same here buildings. And I will do one more here, road.
And hit export sketch and we will do next round with this help.
Well, it did not follow our prompt but I probably know where the problem is. I didn't prompt image two as a reference.
Show me a high angle centered view @image2 on the street. Image one as an establishing shot.
Now this is a little better as you can see. We also have our tree here. Actually, a couple of those.
When I somehow don't like any of these, but the setting is quite right, I will just let it generate one more time and I will pick the best. If not, I will probably go with this one.
And we will continue by creating our scene with next shot. I can get rid of this sketched layout. I don't need it anymore because I want to place our character in this shot.
Therefore, show me @Julia and it can call out this image even though it's not uploaded here.
Show Julia in the cafe on the Paris street @image1 generate.
Now, this one got way more creative. And the tree is even more visible. I actually like this one. Therefore, I will use it as our establishing shot.
Let's hit use as video and establishing shot for ad commercial. Generate.
Now we can get back to our image tab. And there she is drinking coffee in the street of Paris.
I think only this one has correct size of her body but I can work with that. I can do the same as with previous image. I can let it generate one more round and I will pick the best but I think this should easily work.
And I will open new generation with show me tight side or not portrait but side detail view. Drinking coffee at the cafe on the Paris street. Let's hit generate.
Well, second round is I think better. But I am maybe missing people here. Therefore, I will try to introduce it in the scene. However, it might be tricky because this reference image does not have any people in it.
People walking in the background on the sidewalk. Hit generate.
And now here you can see it's the street we want, it's the character we want, and she is drinking coffee. And it's a kind of a close-up look which is really great.
In every single case, I actually only tweaked just what's maybe in it, but the consistency is actually no issue at all because all the visuals remain in the same lighting and color grading. It's quite a usable feature, I think.
And in here, we have our Julia, which is drinking coffee, and there are people walking behind her.
I will do one more round with this generation. I like this one. Therefore, I will also use it as a video with your reference.
Woman drinking coffee enjoying the moment. She closes her eyes while drinking. Generate.
Till this moment I didn't know what didn't feel right but if you are doing, let's say, a commercial, she probably shouldn't look into camera.
I will therefore use it again. Show me Julia in cafe, she is looking to the side. Let's see how we can generate.
We can continue tweaking our scenes with this approach. But once you have something like that ready and you want to actually use it, you can use this generated image as reference itself.
I will then click the image for the reference. It's uploaded here. I will get rid of Julia and Paris street.
Show me extreme close up on the lips drinking coffee out of the white cup. Generate.
And now I can delete this one so I remain organized.
I already have probably two clips. Maybe I will let it run a couple of times until I find the best one.
I already have an image shot here which is establishing shot. I could play with it of course, prompt it with exact camera motion, but this is not the purpose for this exact video.
Therefore I will have her drinking coffee out of a cup. This is what I was looking for.
I would probably want side close-up of the lips and the street @image1.
And while this is being generated, I have quite a great generation here which I want. But she is wearing a white sweater and I want her to wear the black one which is like here.
Now I can pick one image which will be probably this one. And here I can use it in chat.
It got uploaded in the chat. And now you can prompt it with adjustments or whatever else you want to do with the image. And you are using your native language.
Please change her sweater to be of black color and confirm.
This is more or less like a ChatGPT approach to generating images. And now it did the job.
But you can continue tweaking the scene to be in the shape that you actually want.
Let's prompt it. Zoom out a little bit because I think it's too close. Zoomed out, but just a little bit. Therefore, I will do another round.
Zoomed out way more. I want her whole body to be in the image.
And it did some adjustments. However, she is placed on a different chair. But you probably got the point.
Even though I would maybe use this very first image because it fits my need for the commercial we put together.
I can maybe go even more creative and place a car on the road. Place a red Ferrari car on the road.
This would be obviously unusable. But I just want to maybe present you with how you can approach this type of image generation which is based on feelings and iterations.
You don't need to come up with exact prompt right from the get-go but you can get there. You can probably maybe tweak the scene as you want here and then use this image as an image reference for the scene for the street and prompt Julia back in so she will be the exact character we want.
You can also add this image as an input so it will reference it way more.
And also add yellow Lamborghini in front of the red car. Give her a baseball cap on her head.
But you probably got the point of how you can use this to fit your need.
Generally speaking, using references in Runway with sketched layout and maybe chat mode for initial visual development is quite a great tool that I, for example, used to do somewhere else, let's say in Midjourney, and then continue to make it move in Runway.
But right now you can do that right within Runway and it's quite powerful.
Well, and here as you can see we have both cars here and she has a cap.
Now as you can see this whole iteration, which is unusable, happened within our session. So you can easily use this image as a reference.
You can get rid of this and show me extreme close-up. Show me Julia standing next to yellow car @image2.
And this way you can play with it. Create a scene as your thoughts are somehow appearing in your head and get creative with it.
And now, as you can see, it did what I prompted.
But fun part aside, if we get back to our original generations, if you invest time to tweak it a little bit, maybe to polish details and find that one image which is best for particular scene, you'll let it generate right within Runway upscale to 4K.
And then if you put it together, it can look like this.


